Now i will adding MMU logo.
Here the step


::STEP 13::
Open MMU logo file

::STEP 14::
Unlock the layer and rename it as MMU logo.
Use Rectangular Marquee tool to select picture.

::STE 15::
Then, use move tool to move the MMU logo to backgroung image.

Here is the image after i finish step 15

::STEP 16::
Now, use the Magic Wand Tool click to the white background of MMU logo.

Here is the image after i use
Magic Wand Tool.

::STEP 17::
Enlarge the picture.
Then use
Magic Wand Tool to delete
white background inside the 'D' ,'A' and 'R'.

This is how it look after I delete the white background in MMU logo.

::STEP 18::
Right click in MMU logo layer.
Choose blending options

::STEP 19::
After that, change the blend mode to normal.
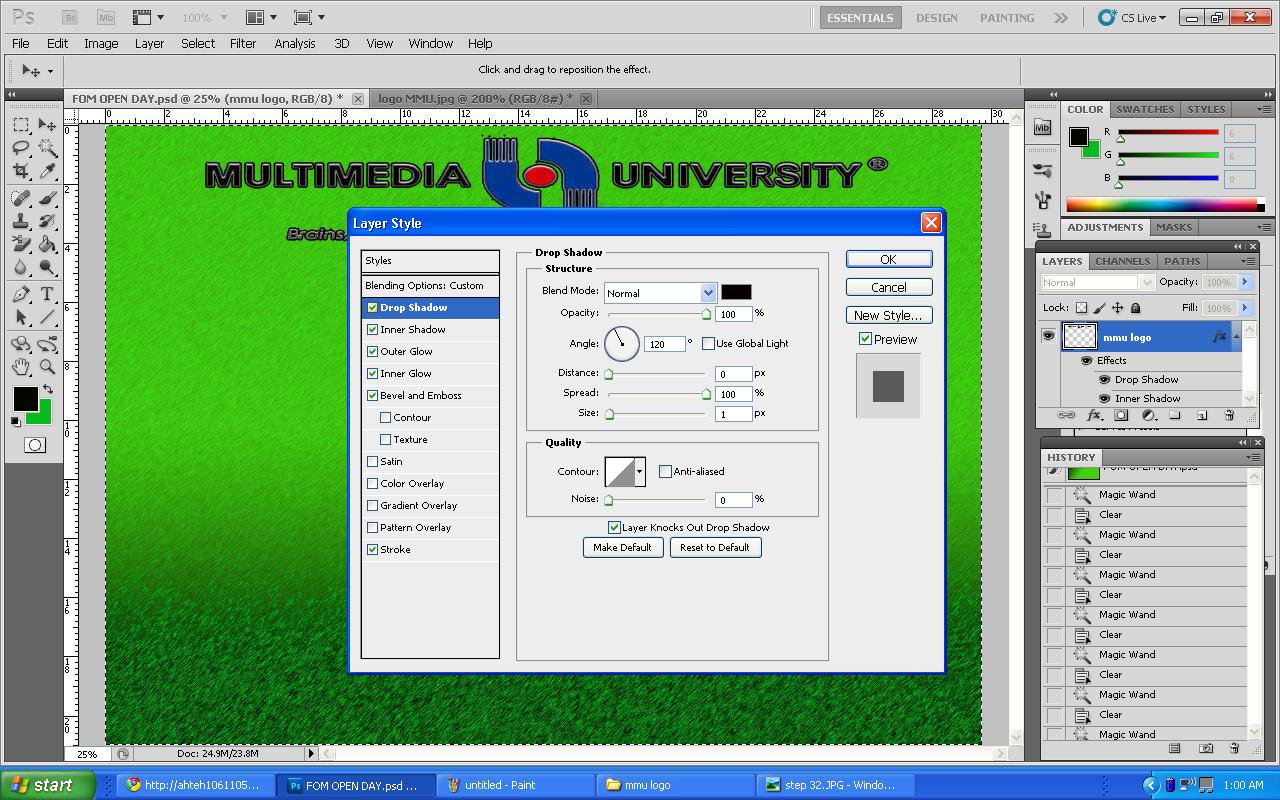
::STEP 20::
Click the Drop Shadow box.

::STEP 21::
Click the Inner Shadow box.

::STEP 22::
Click the Outer Glow box.

::STEP 23::
Click the Outer Glow box.

::STEP 24::
Click the Bevel and Emboss box.

::STEP 25::
Click the stroke box.

Here is the finish image after I finish edit MMU logo.
No comments:
Post a Comment