
::STEP 56::
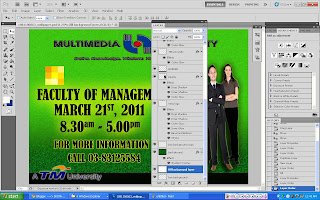
Click into Faculty of Management Layer.
Use Move Tool to remove Faculty of Management to little bit down.
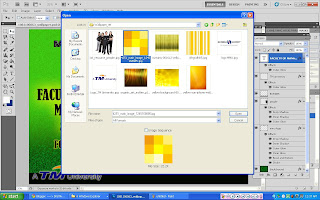
::STEP 57::
Open new image.
::STEP 58::
Use Move Tool to drag the new image background to my e-wallpaper.
Rename the layer as Box background.
::STEP 59::
Duplicate the box background layer.
After that, add the new layer.
Click to the new layer.
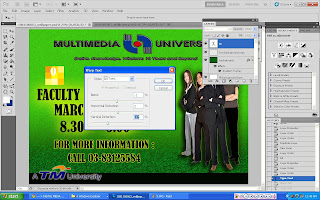
Go to the Edit and choose fill (shift + F5).
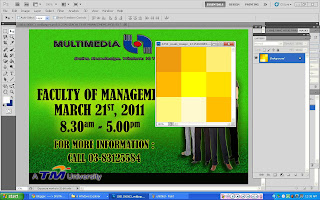
::STEP 60::
Change the use into the white.
Then, click ok.
After that, change the layer 1 name to fill box background.

Here is the image after I finish step 60.
The background change to the white colour.
::STEP 61::
I want to change back my background to the old one.
So, I drag the fill box background and box background to the below background layer.
And my background image will appear back.
::STEP 62::
Click to the Horizontal Type Tool and type "O".
Click to the Create Warper Text.
::STEP 63::
Change the style into Twist.
Bend to -1
Horizontal Distortion to 2
Vertical Distortion to -37

Here is the image after I finish do step 63

::STEP 64::
Drag the Box background copy layer to the up "O" text layer.
"O" text can not be see because "O" text layer below box background copy layer.
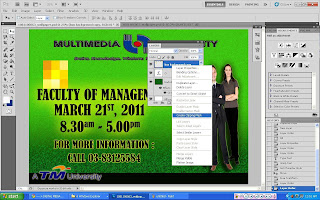
::STEP 65::
Click to the box background copy layer.
Right click and choose Create Clipping Mask.

And here is the image after I finish step 65.
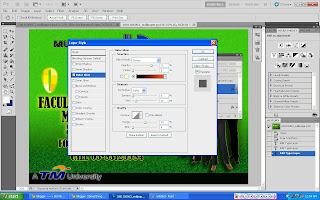
::STEP 66::
After that, click to the Blending Options.
Choose Outer Glow.
Change the colour.
Here is the image after I finish step 66.
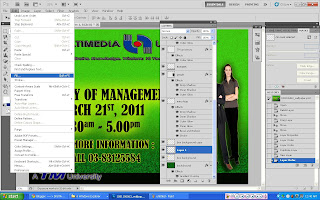
::STEP 67::
After I finish do "O" text, I will proceed to the "P" text.
Open new different background.
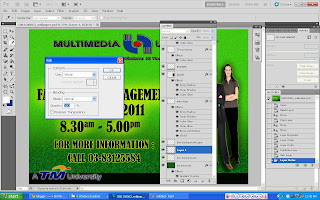
::STEP 68::
Repeat step 58 and rename the layer as vertical background.
::STEP 69::
Repeat step 59 and rename the layer 1 as fill vertical background.
We can not see the background and the letter "O".
::STEP 70::
I drag the fill vertical background and vertical background to the below background layer.
And my background image will appear back.
::STEP 71::
Click to the Horizontal Type Tool and type "P".
Click to the Create Warper Text.
Change the style into Squeeze and vertical.
Bend to 50
Horizontal Distortion and Vertical Distortion to 0
Here is the image after I finish step 71
::STEP 72::
Open new image.
Use Rectangular Marquee Tool to the image.
Press Ctrl + X to cut the image that I want.
::STEP 73::
Press Ctrl + N to create new file.
Then press Ctrl+ V to paste the picture.
Here is the image after I do step 73.
::STEP 74::
Repeat step 58 and rename the layer as colourfull background.
::STEP 75::
Duplicate the colourfull background layer.
After that, add the new layer.
Click to the new layer.
Go to the Edit and choose fill (shift + F5).
Rename the new layer as fill colourfull background.
After that, repeat step 60-64
::STEP 76::
Click to the Horizontal Type Tool and type "E".
Click to the Create Warper Text and change the warper text according to the picture above.
Drag the colourfull background copy layer to the up "E" text layer.
Click to the colourfull background copy layer and repeat step 65 and 66.
Here is the image after I finish step 76
::STEP 77::
Open new image.
::STEP 78::
Go to the image choose image rotation and pick 90CW
::STEP 79::
After that, repeat step 58 and rename the layer as horizontal background.
::STEP 80::
Repeat step 59 and 60.
rename the new layer as fill horizontal background.
And then repeat step 61 until 66.
Don't forget to change the text into "N".
::STEP 81::
Open the Warp text.
Change the style into wave as the picture above.
And here is the picture after i finish step 81
::STEP 82::
Open new background.
::STEP 83::
Repeat step 58 until 65.
Rename the layer as yellow background.
Click to the Horizontal Type Tool and type "D".
Change the Warp Text as the picture above.
Here is the image after step 83.
::STEP 84::
Open again new image background.
Repeat step 58 until 65.
Rename the layer as orange background.
Click to the Horizontal Type Tool and type "a".
Don't change the Warp text.
Here is the image after step 84.
::STEP 85::
Open the last new image background.
Go to image and click to image rotation and choose 90CW.
After that, repeat same step as step 58 until 65.
Rename the layer as Horizontal 2 background.
Click to the Horizontal Type Tool and type "Y".
::STEP 86::
Change the Warp Text as the picture above.
Here is the image after I finish all the step above.


